Phoenix LiveView comes with excellent UI interactivity tools out of the box. One of the features Phoenix provides is flash messages. They come in two types: info and error. In LiveView, they are simply displayed using:
Phoenix.LiveView.put_flash(socket, :info, "Some info message") Phoenix.LiveView.put_flash(socket, :error, "Some error message").
When they are displayed, they must be clicked to dismiss. So how can we automatically dismiss them? To answer that, we will create a new Phoenix project with:
mix phx.new phoenix_flash_autodismiss
In the new project, we will replace the auto-generated home page with this LiveView, which includes three info buttons and three error buttons for displaying flash messages, like this:
# lib/phoenix_flash_autodismiss_web/live/home_live/index.ex
defmodule PhoenixFlashAutodismissWeb.HomeLive.Index do
  use PhoenixFlashAutodismissWeb, :live_view

  @impl Phoenix.LiveView
  def render(assigns) do
    ~H"""
    <div class="flex flex-col items-center justify-center gap-4">
      <div class="flex flex-row items-center justify-center gap-2">
        <.button phx-click="info" phx-value-msg="info 1" class="!bg-blue-500 hover:!bg-blue-600">Info 1</.button>
        <.button phx-click="info" phx-value-msg="info 2" class="!bg-blue-500 hover:!bg-blue-600">Info 2</.button>
        <.button phx-click="info" phx-value-msg="info 3" class="!bg-blue-500 hover:!bg-blue-600">Info 3</.button>
      </div>
      <div class="flex flex-row items-center justify-center gap-2">
        <.button phx-click="error" phx-value-msg="error 1" class="!bg-red-500 hover:!bg-red-600">Error 1</.button>
        <.button phx-click="error" phx-value-msg="error 2" class="!bg-red-500 hover:!bg-red-600">Error 2</.button>
        <.button phx-click="error" phx-value-msg="error 3" class="!bg-red-500 hover:!bg-red-600">Error 3</.button>
      </div>
    </div>
    """
  end

  @impl Phoenix.LiveView
  def mount(_params, _session, socket) do
    {:ok, socket}
  end

  @impl Phoenix.LiveView
  def handle_event("info", %{"msg" => msg}, socket) do
    socket =
      socket
      |> put_flash(:info, msg)

    {:noreply, socket}
  end

  @impl Phoenix.LiveView
  def handle_event("error", %{"msg" => msg}, socket) do
    socket =
      socket
      |> put_flash(:error, msg)

    {:noreply, socket}
  end
end
And we can’t forget about the router part:
scope "/", PhoenixFlashAutodismissWeb do
  pipe_through :browser

  live_session :default do
    live "/", HomeLive.Index
  end
end
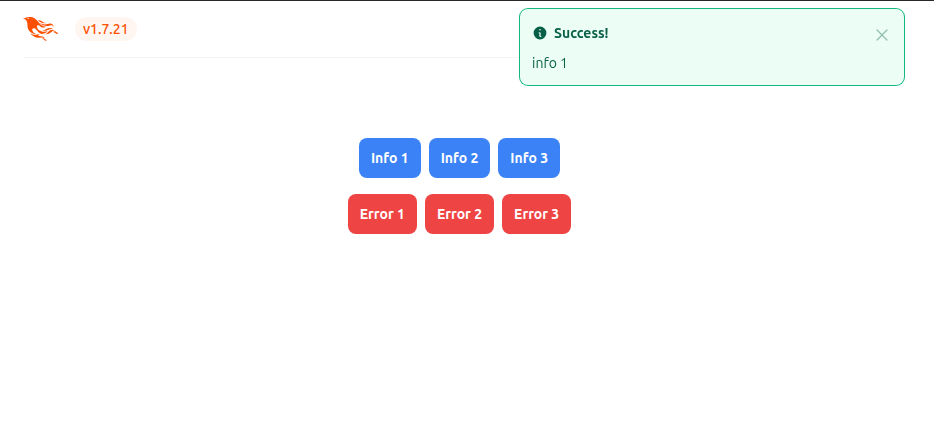
With this setup, we can open localhost:4000. The home page displays three info buttons and three error buttons. Each button shows its own message when clicked.
Now, when this is done, we can start implementing automatic dismissal of these flash messages. We must first start where the component for rendering flash messages is defined. For this project, that is in lib/phoenix_flash_autodismiss_web/components/core_components.ex. There we can find the definition of the `flash_group` component. It looks something like this:
def flash_group(assigns) do
    ~H"""
    <div id={@id}>
      <.flash kind={:info} title={gettext("Success!")} flash={@flash} />
      <.flash kind={:error} title={gettext("Error!")} flash={@flash} />
      <.flash
        id="client-error"
        kind={:error}
        title={gettext("We can't find the internet")}
        phx-disconnected={show(".phx-client-error #client-error")}
        phx-connected={hide("#client-error")}
        hidden
      >
        {gettext("Attempting to reconnect")}
        <.icon name="hero-arrow-path" class="ml-1 h-3 w-3 animate-spin" />
      </.flash>

      <.flash
        id="server-error"
        kind={:error}
        title={gettext("Something went wrong!")}
        phx-disconnected={show(".phx-server-error #server-error")}
        phx-connected={hide("#server-error")}
        hidden
      >
        {gettext("Hang in there while we get back on track")}
        <.icon name="hero-arrow-path" class="ml-1 h-3 w-3 animate-spin" />
      </.flash>
    </div>
    """
  end
What we need to do here is add phx-hook="ClearFlash" to the parent div element. Now it’s time to start implementing that hook. To dismiss flash messages, we will be using some nice CSS transitions that will gradually hide the message. First, we will define the animation in assets/tailwind.config.js with:
// Rest of the file
module.exports = {
  theme: {
    extend: {
      // Rest of the file
      animation: {
        'fade-out': 'fadeOut 5s ease-in-out'
      },
      keyframes: {
        fadeOut: {
          '0%': { opacity: '1' },
          '20%': { opacity: '0.9' },
          '40%': { opacity: '0.8' },
          '60%': { opacity: '0.7' },
          '80%': { opacity: '0.5' },
          '100%': { opacity: '0' }
        }
      }
    },
  },
  // Rest of the file...
}
Now when that is done, let’s create a new file assets/js/clear_flash.js with this implementation:
const ClearFlash = {
  delay: 5000,

  clearLastFlash() {
    const ids = ["flash-info", "flash-error"];
    const elements = Array.from(this.el.children).filter(el => ids.includes(el.id));
    if (elements.length > 0) {
      const lastFlashElement = elements[elements.length - 1];

      // Remove any existing fade-out animation
      lastFlashElement.classList.remove("animate-fade-out");

      // Force a reflow to restart the animation
      void lastFlashElement.offsetWidth;

      // Add the fade-out class to start the animation
      lastFlashElement.classList.add("animate-fade-out");

      this.timeout = setTimeout(() => {
        this.pushEvent("lv:clear-flash", {key: lastFlashElement.id.replace("flash-", "")});
      }, this.delay);
    }
  },

  mounted() {
    this.clearLastFlash();
  },

  updated() {
    if (this.timeout) {
      clearTimeout(this.timeout);
    }
    this.clearLastFlash();
  },

  destroyed() {
    if (this.timeout) {
      clearTimeout(this.timeout);
    }
  }
}

export default ClearFlash;
This hook should be passed to the LiveView socket. This is the same as for any other LiveView hook. Therefore, this piece of code should be added to assets/js/app.js:
import ClearFlash from "./clear_flash"
const Hooks = {
  ClearFlash: ClearFlash
}
let liveSocket = new LiveSocket("/live", Socket, {
  longPollFallbackMs: 2500,
  params: {_csrf_token: csrfToken},
  hooks: Hooks
})
For more details, check out the documentation for Phoenix LiveView hooks.
This hook defines a function, clearLastFlash. It hides the last flash message in the flash group. First, we define the IDs of flash elements we want to hide, in this case flash-info and flash-error. All flash messages are part of the flash group. We want to hide them one by one. We start with the last one rendered, because they all share the same position on the display with the same z-index value, so the last one rendered is currently visible. By default, the error flash is defined after the info flash in the flash group implementation. If both of them are visible at the same time, the error flash message will always be displayed first. This happens regardless of which one came first. When the last flash element is found, it is processed by removing the current animation class and calling void this.el.offsetWidth; which is a common trick to force a re-flow and recalculation of styles in the DOM. After that, we add the animation class to start the animation. When that’s done, a timeout is added. This will push the lv:clear-flash event to the server. This action clears the flash message. That’s because hiding a flash is a two-part job. The first part is to hide it in the DOM with CSS. The other part is to clear it from the server’s state. We can see those details in the same file, but in the def flash(assigns) function implementation for handling phx-click event:
phx-click={JS.push("lv:clear-flash", value: %{key: @kind}) |> hide("##{@id}")}
We want to achieve the same result as in this default solution. We want to push the lv:clear-flash event. At the same time, we want to hide the element completely. To do that, the delay in the function and animation duration are set to the same time, in this case 5 seconds.
And that’s it! Let’s check out how it works. First, we click one button to show an info message:

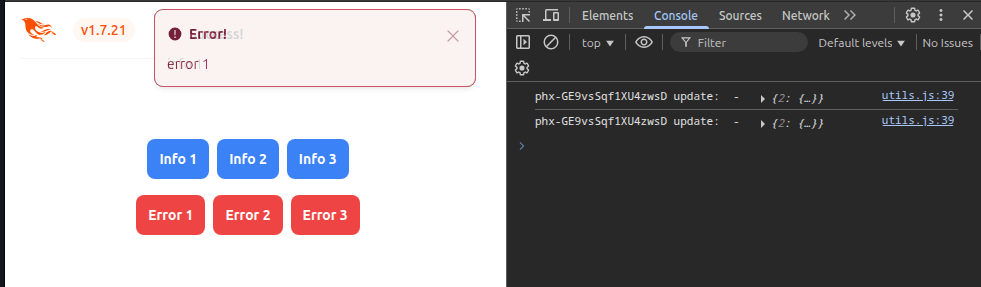
Then, while this message is displayed, we click the error button to display an error message:
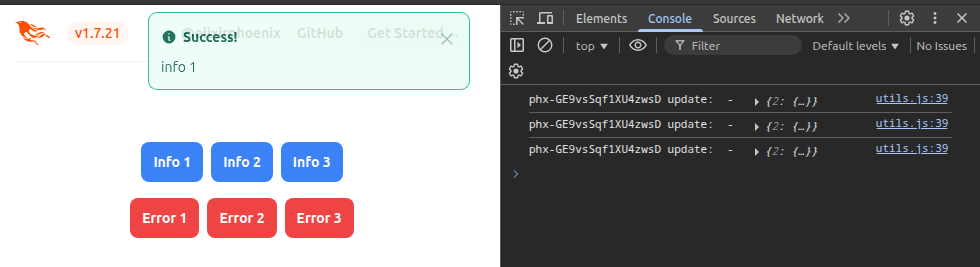
Wait until the error message is removed completely, and the info message is visible again:
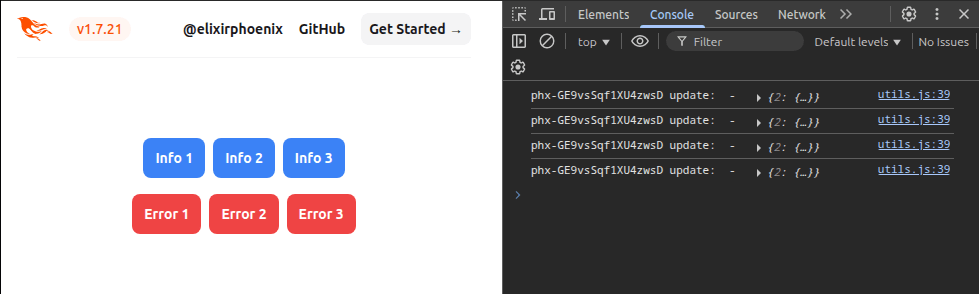
Finally, wait until the info message is also removed:
If you want to try playing with these buttons on your own, this example is available on GitHub. Have fun! 🙂
